
I normally focus specifically on pianos but recently I embarked on a restoration of a Hammond M3 organ. I was down in Florida purchasing a piano from an old church, and while there I noticed tucked away in a hallway this Hammond M3 Console Organ. I couldn't help but ask if the people selling the piano were interested in selling the Hammond, the sellers accepted my offer and I now own this Hammond M3. I didn't even test the organ to see if it worked I just knew if it didn't I'd be able to fix it. I've always wanted a Hammond and this M3 was a popular console model of the 50's and 60's, the church we purchased it from supposedly used it for years. My goal was to restore it back to its original beauty and sound, so this blog is dedicated to the work done on this organ once we brought it to "the shop" for the repairs. My Dad helped with the wood refinishing part of the project, he is an amazing wood worker and craftsman, so as you see throughout credit is given to him with regards to the wood refinishing. I'll share below pictures and explain what each picture represents in the process of the restoration:


Below Picture: This picture was taken when we brought the organ in the shop, as you can see the finish looks really rough, the organ was dirty and in a non-working condition.

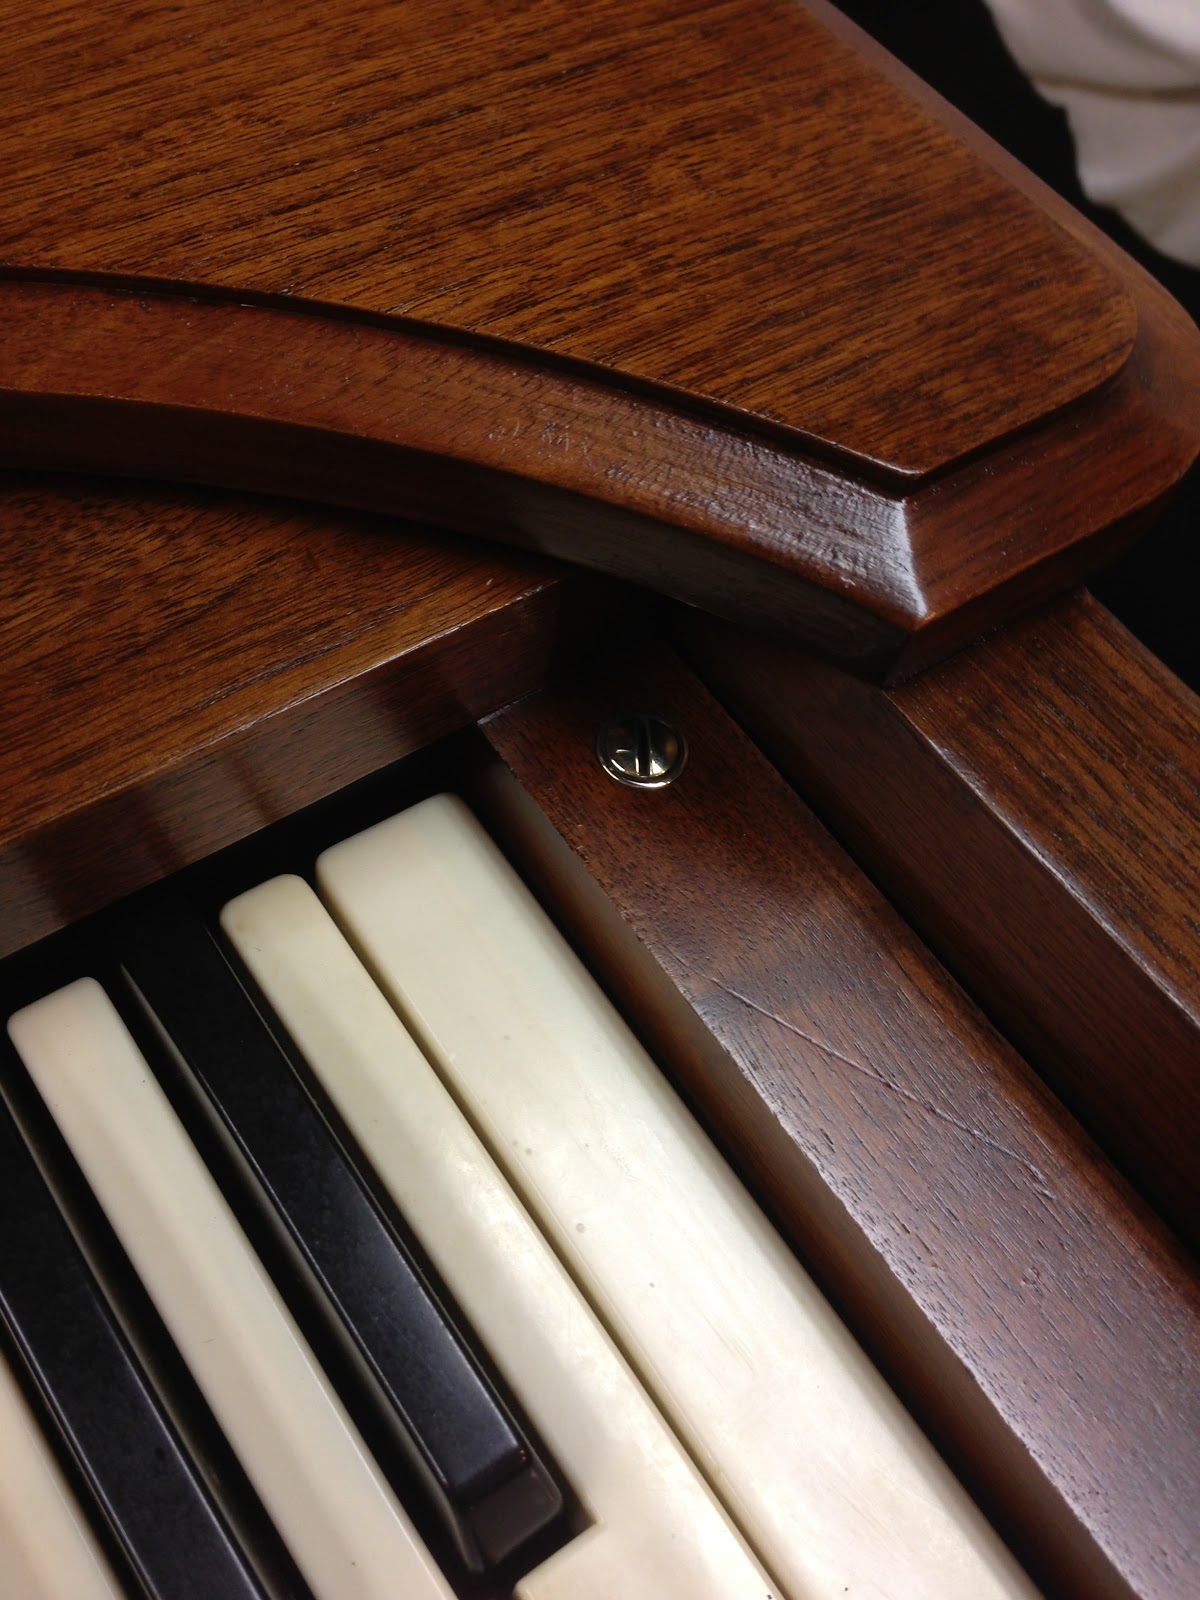
Below two pictures: I started with removing the upper and lower manuals on the M3 including removal of each key from the manual. This was to provide easy cleaning of the keys and the keybed of each manual. As well as prepare the organ for the wood refinishing.


Below: The plastic part of each keytop was cleaned with a rag and a mild degreaser. This removed any dirt and residue from years and years of use and brought the keys back to a clean almost new look and feeling when played.

Below: After each keytop was cleaned it was placed in a box in order for placing back on the manual keybed down the road when we got to that part of the project.

Below: Now with all of the keys removed, I carefully removed the Hammond tone generator, and both manuals through the back of the organ. I placed them on to barrels at the exact height they are in the organ to make sure any wires were carefully guarded I included a towel over the tone generator to protect it as well. This provided easy access to all of the wood for the refinishing. The above pictures shows a good example of the finish before it was stripped down.


Below: Is the before picture of the Drawbars which control the sounds, the whole unit was taken apart and fully cleaned. I used a mild cleaner to remove the residue, and contact cleaner. I also used an pink eraser to clean the contacts gently. After they were cleaned they were placed in the silver pan below until the unit was reassembled.


Below: The Amp... there's nothing like the sound of a tube amp, my hopes were to have this thing sounding like it originally did and that I accomplished.

Below top picture: The organ didn't work when we brought it into the shop, so I started by looking for the obvious and the ceramic resistor (Below top picture) was most obvious because it was burned up. So I ordered another ceramic resistor just like based off of the schematic, and soldered it in the amp and got sound out of the organ. However, after a little bit of time the Multi-Section Capacitor (below bottom picture) would get really hot so I knew those had to be replaced. Also after it got hot the sound would fade away. There is one that is silver and one that was paper covered which is the Power Supply capacitor, I replaced it as well (you will see the black paper covered capacitor in next series of pictures)


Below 5 pictures: As you can see in the first two pictures below both original capacitors have fulfilled their life "capacity" in doing what they were supposed to do, so I replaced both. I ordered replacements in a kit from a Hammond organ supplier online. The 5th picture on the bottom is the replacement kit I ordered, comes with: 120uF 50 Volt Electrolytic (didn't use this); Power Supply 50/50 @ 500V Capacitor (which is the Black one replacing the original black paper capacitor); Clamp For 50/50 @500 V Capacitor (the original had its own mount the replacement comes with a clamp); finally Amplifier Power Supply Multi-Section Capacitor (Sliver capacitor, this feeds multiple currents throughout the Amp) I just followed the schematics and soldered wires to appropriate voltage readings.


Below: the new kit replacement parts...
Below: This is looking at the bottom of the AO-29 Hammond amp, you can see the bottom of the original Multi-Section Capacitor (Sliver capacitor) before I removed it.

Below: Pictures of the amp after I repaired and placed back in the organ. Amp and wires look clean and neat also notice how brightly glowing the tubes are now... Much better than before.


Below: While working with the amp and other items, Dad was refinishing the wood back to a satin finish to look more original below pictures show his woodwork.


Below: Final pictures of the reassembled organ, fully cleaned, refinished and tone generator was also cleaned and oiled appropriately.


Below: As detailed as my Dad is, he even polished all of the screws as you can see here they are looking really nice.

I wish more peope would show an interest in these wonderful instruments of the past, I run into them all the time, I grab them when I have the chance. I am currently redoing a 1954 M3. must be one of the 1st. I was told they did not start production until 1955. I am adding a nice Leslie 125 that I picked up cheap for only $86 switch and console kit for the leslie was around 60 used on ebay and the organ I picked up for $75 for $221 I have a working organ with matching leslie and the correct console switch kit. matching bench also! I expect to have 80 to 100 hours in restoring the M3 to perfect condition. the leslie needs nothing.
ReplyDeleteHi thank you for your comments. Enjoy restoration of your M3 this was for sure a fun project. I would like to see pictures of the finished product. Also would like more info on how you connected you Leslie 125, you did get a good deal on that Leslie...
ReplyDeleteHi. Great work! I also restore Hammonds and an M3 restoration is my next project. I never had to restore/refinish the wood and would appreciate to get some hints from you. The wood on your M3 looks beautiful!!
ReplyDelete